Onboarding - Full KYC Verification
Onboarding is the main flow of the PixFace SDK, offering a complete KYC solution that combines document OCR and facial biometric validation.
To learn how to implement onboarding, see the IFrame section.
How it Works
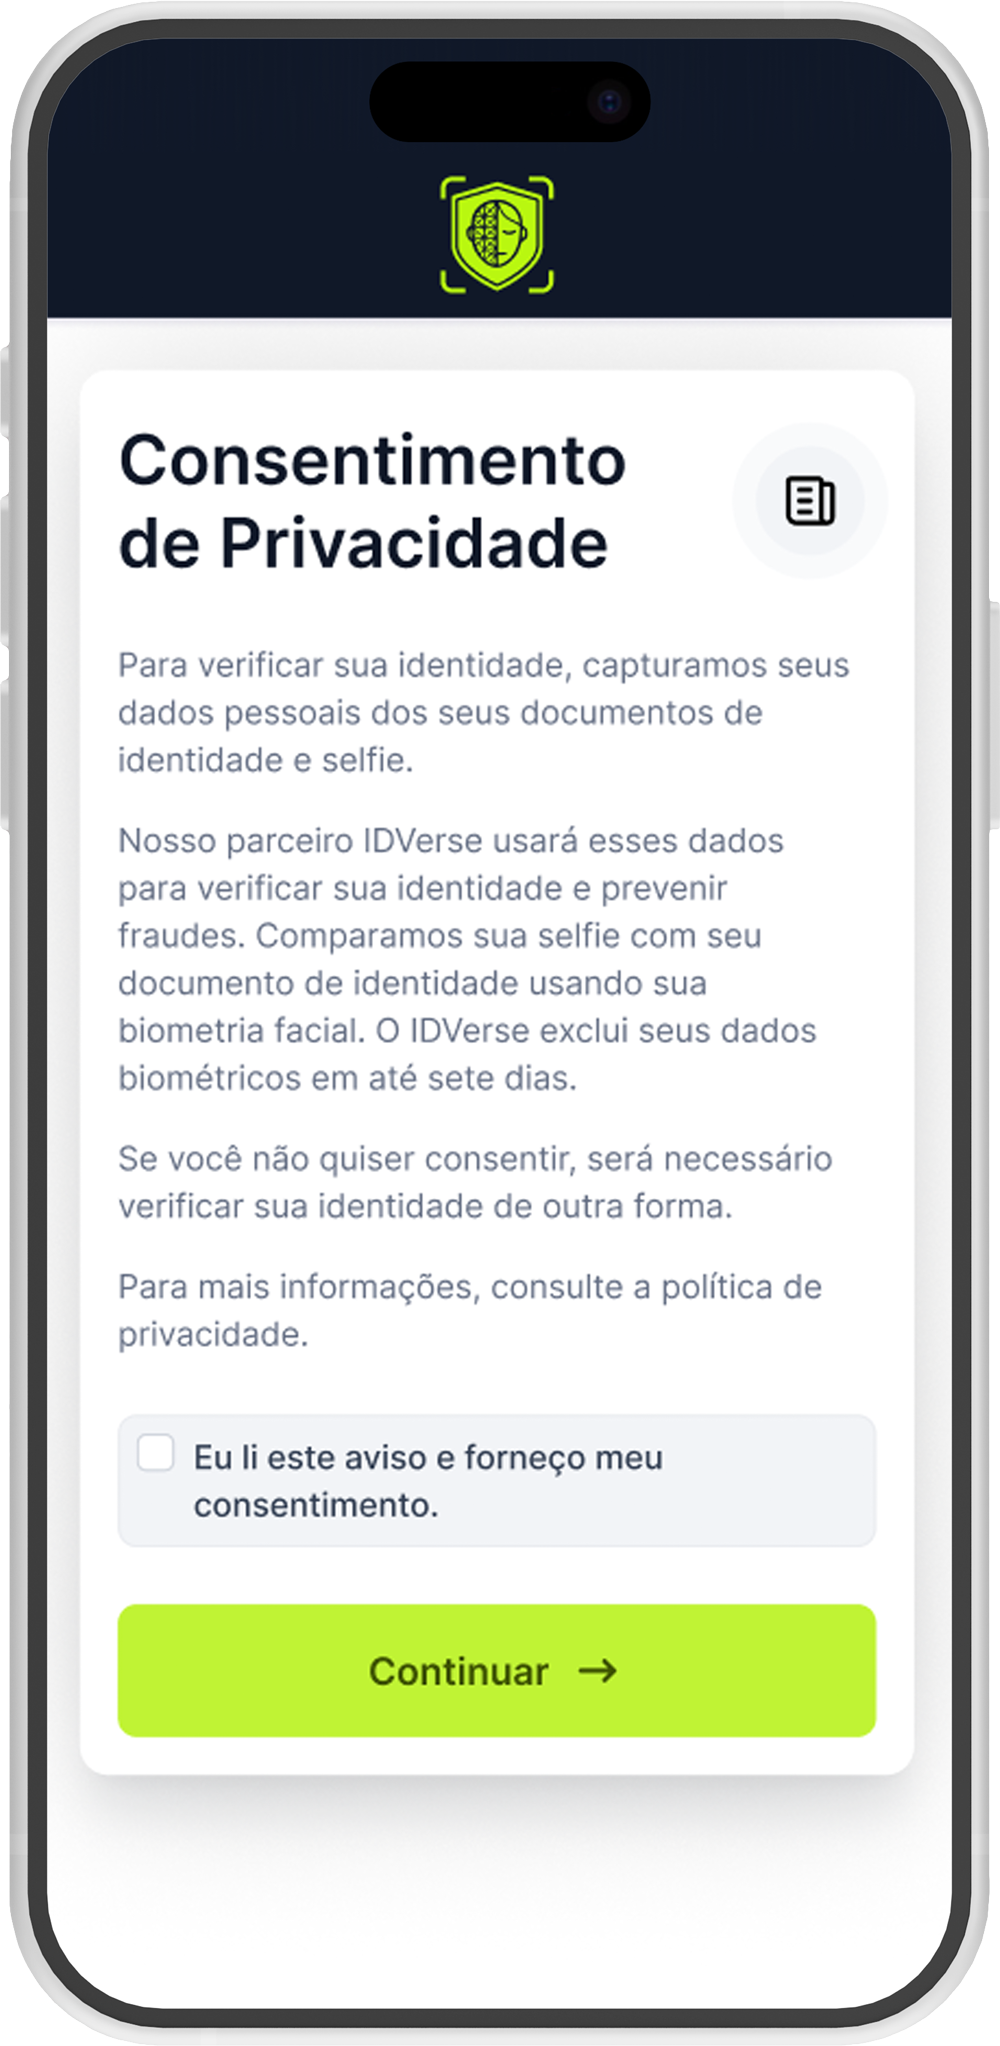
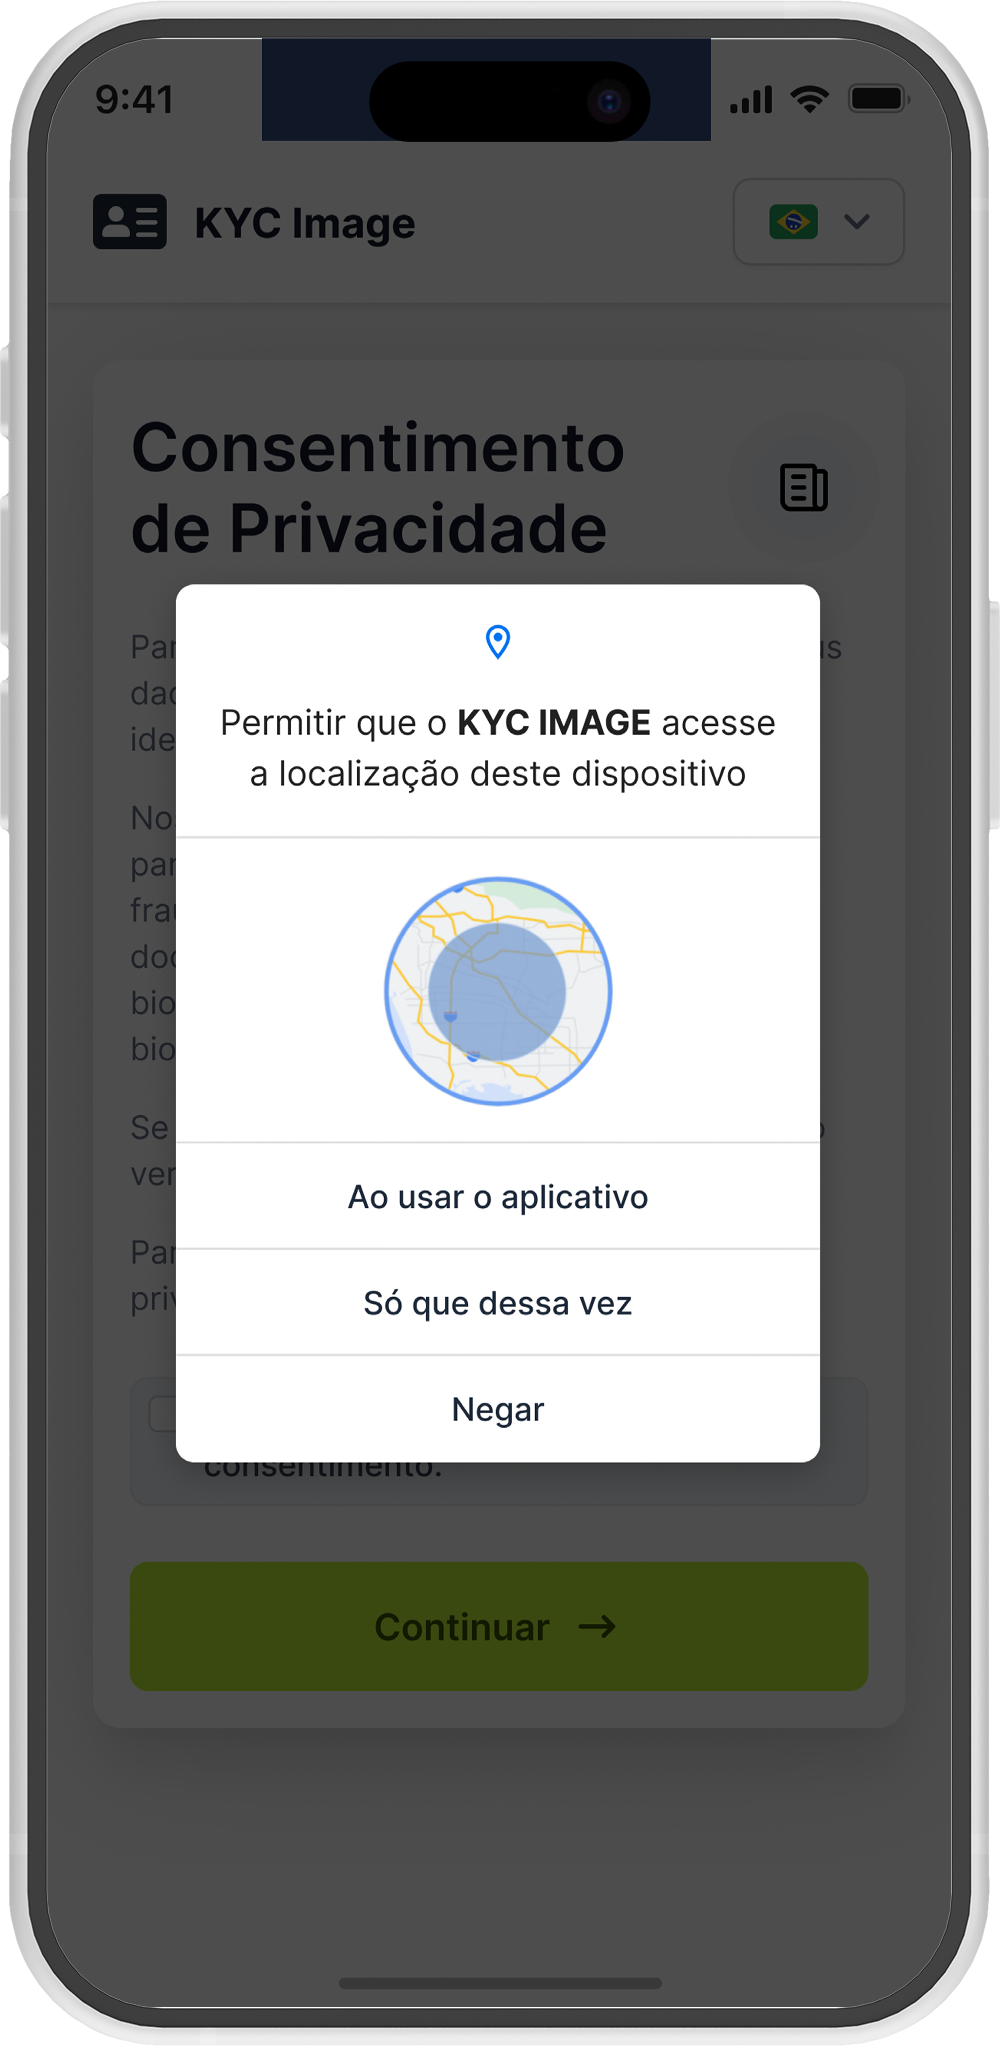
1. Permission Request
The user starts the KYC process. This screen will appear requesting the necessary permissions to proceed with the process.
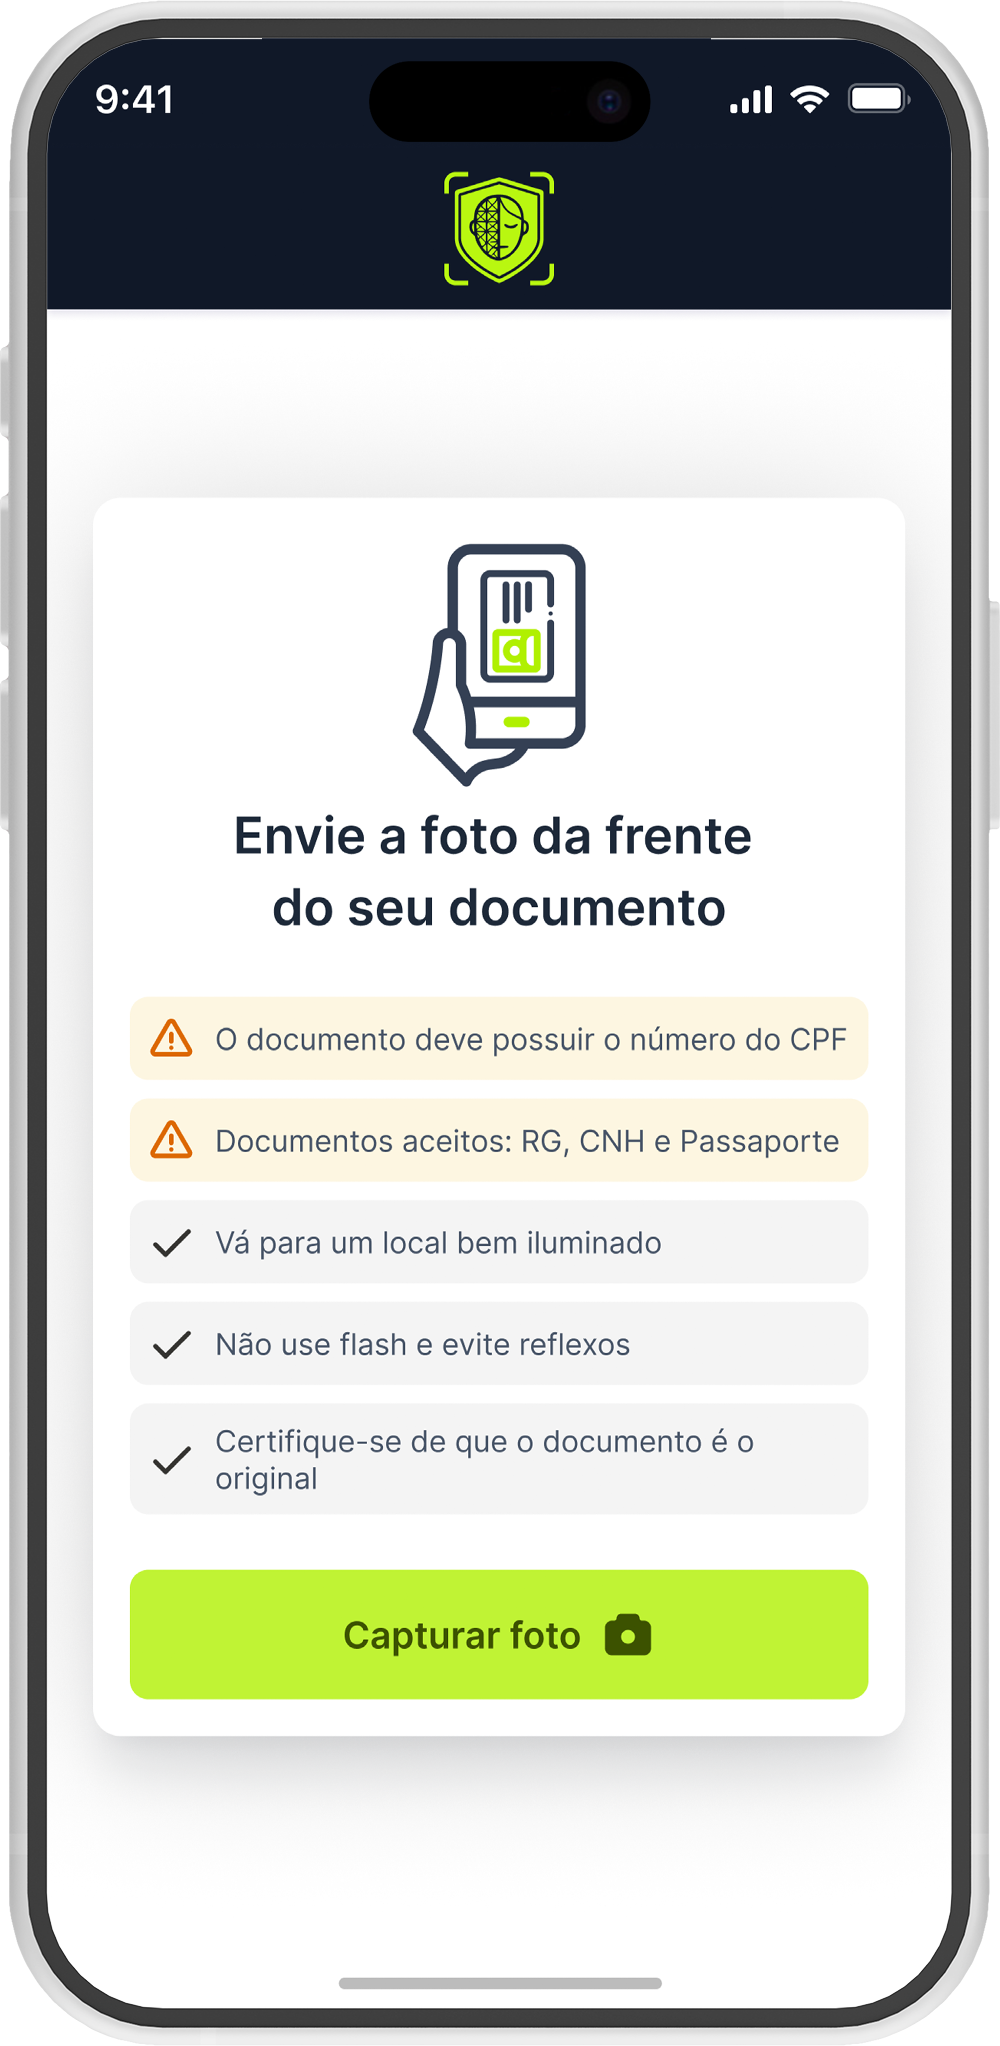
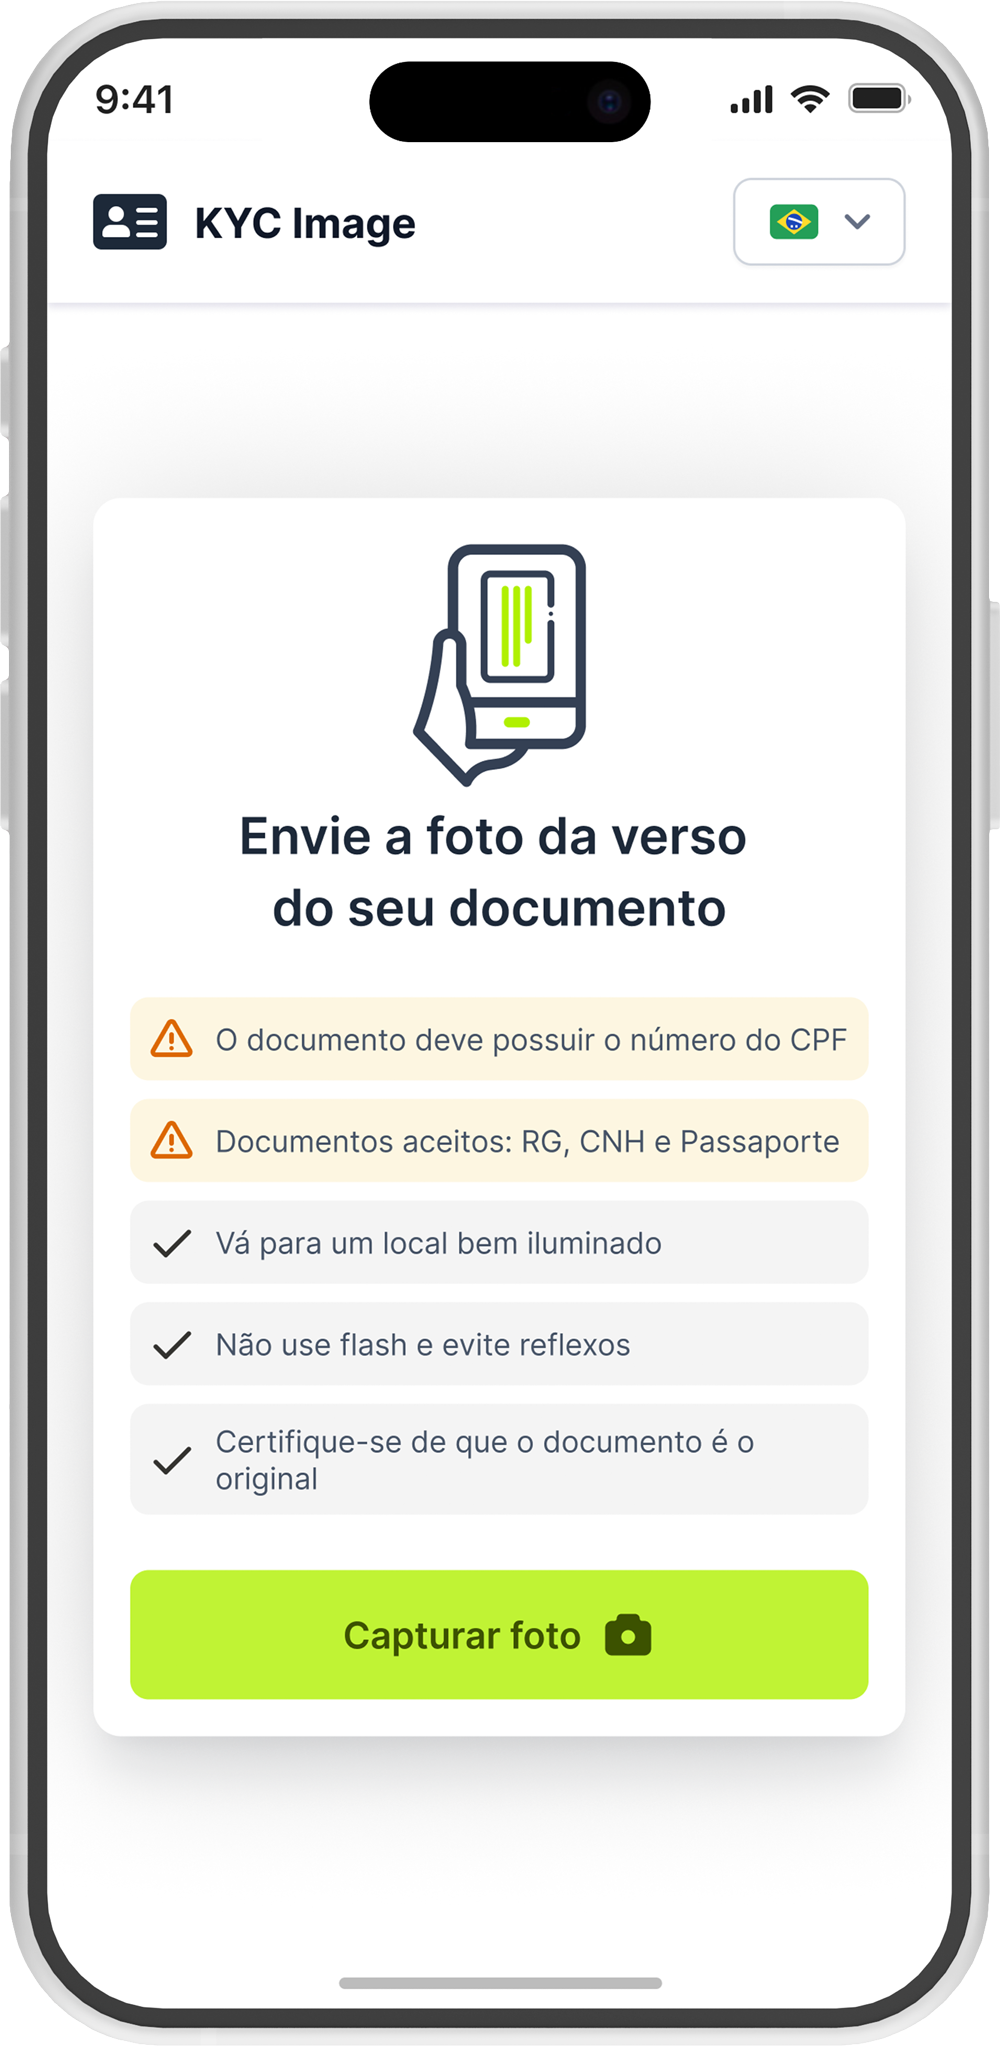
2. Document Upload
After accepting consent, the user will be asked to submit document images. The status changes to "In progress".
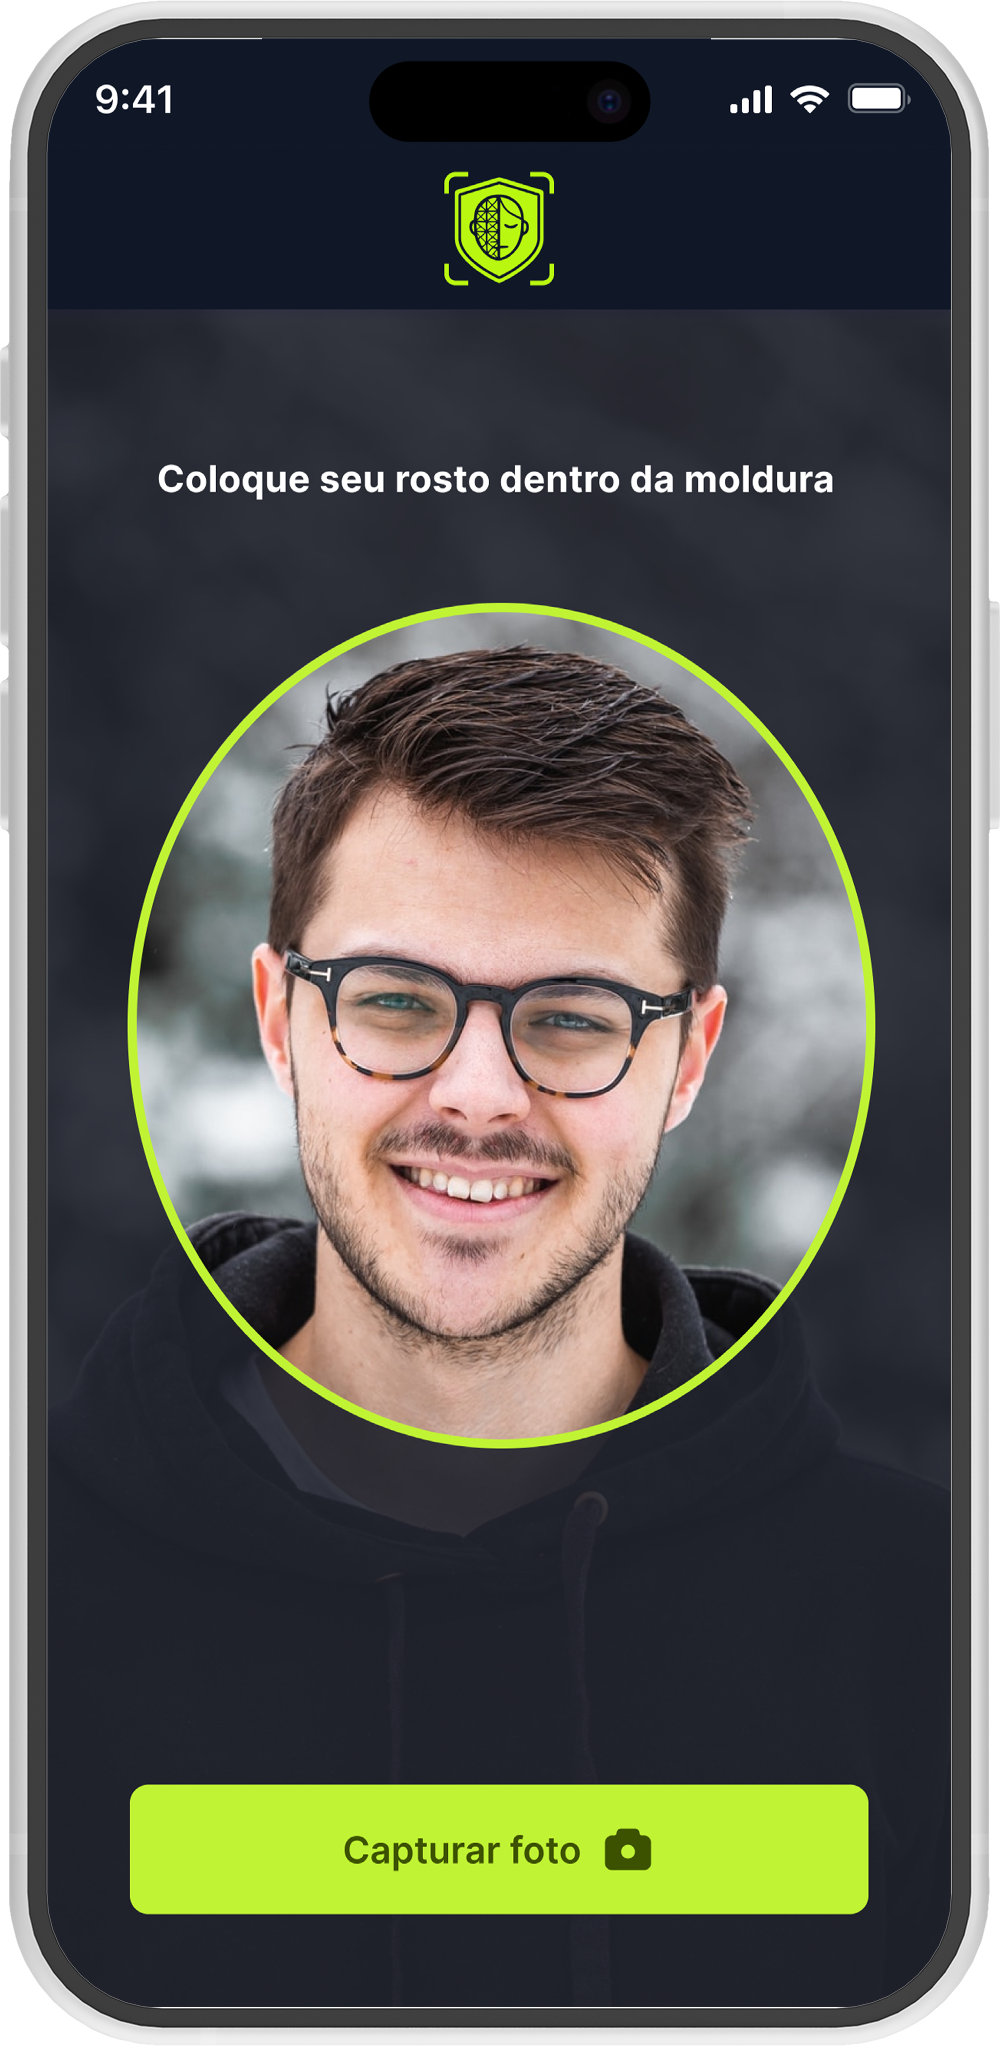
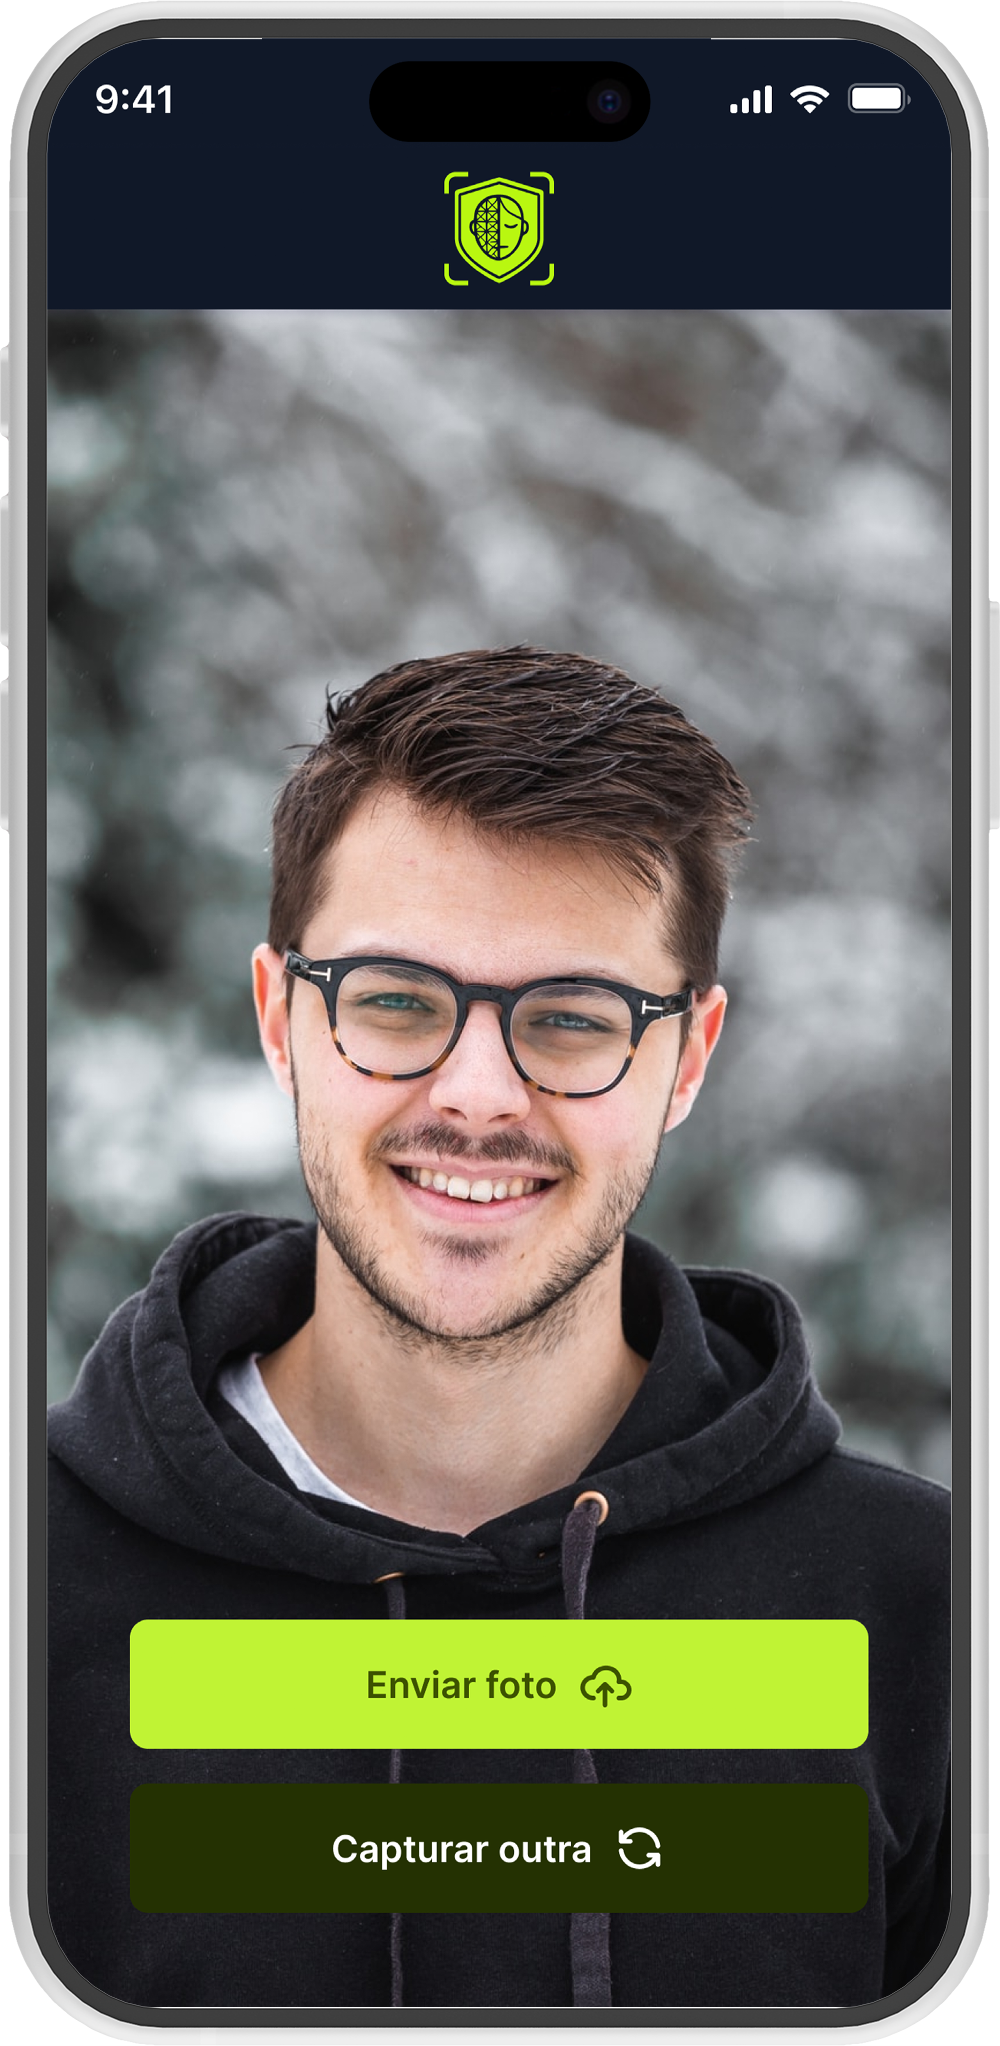
3. Selfie Capture
After the images are registered, a selfie will be requested for identity confirmation (liveness).
4. Data Analysis
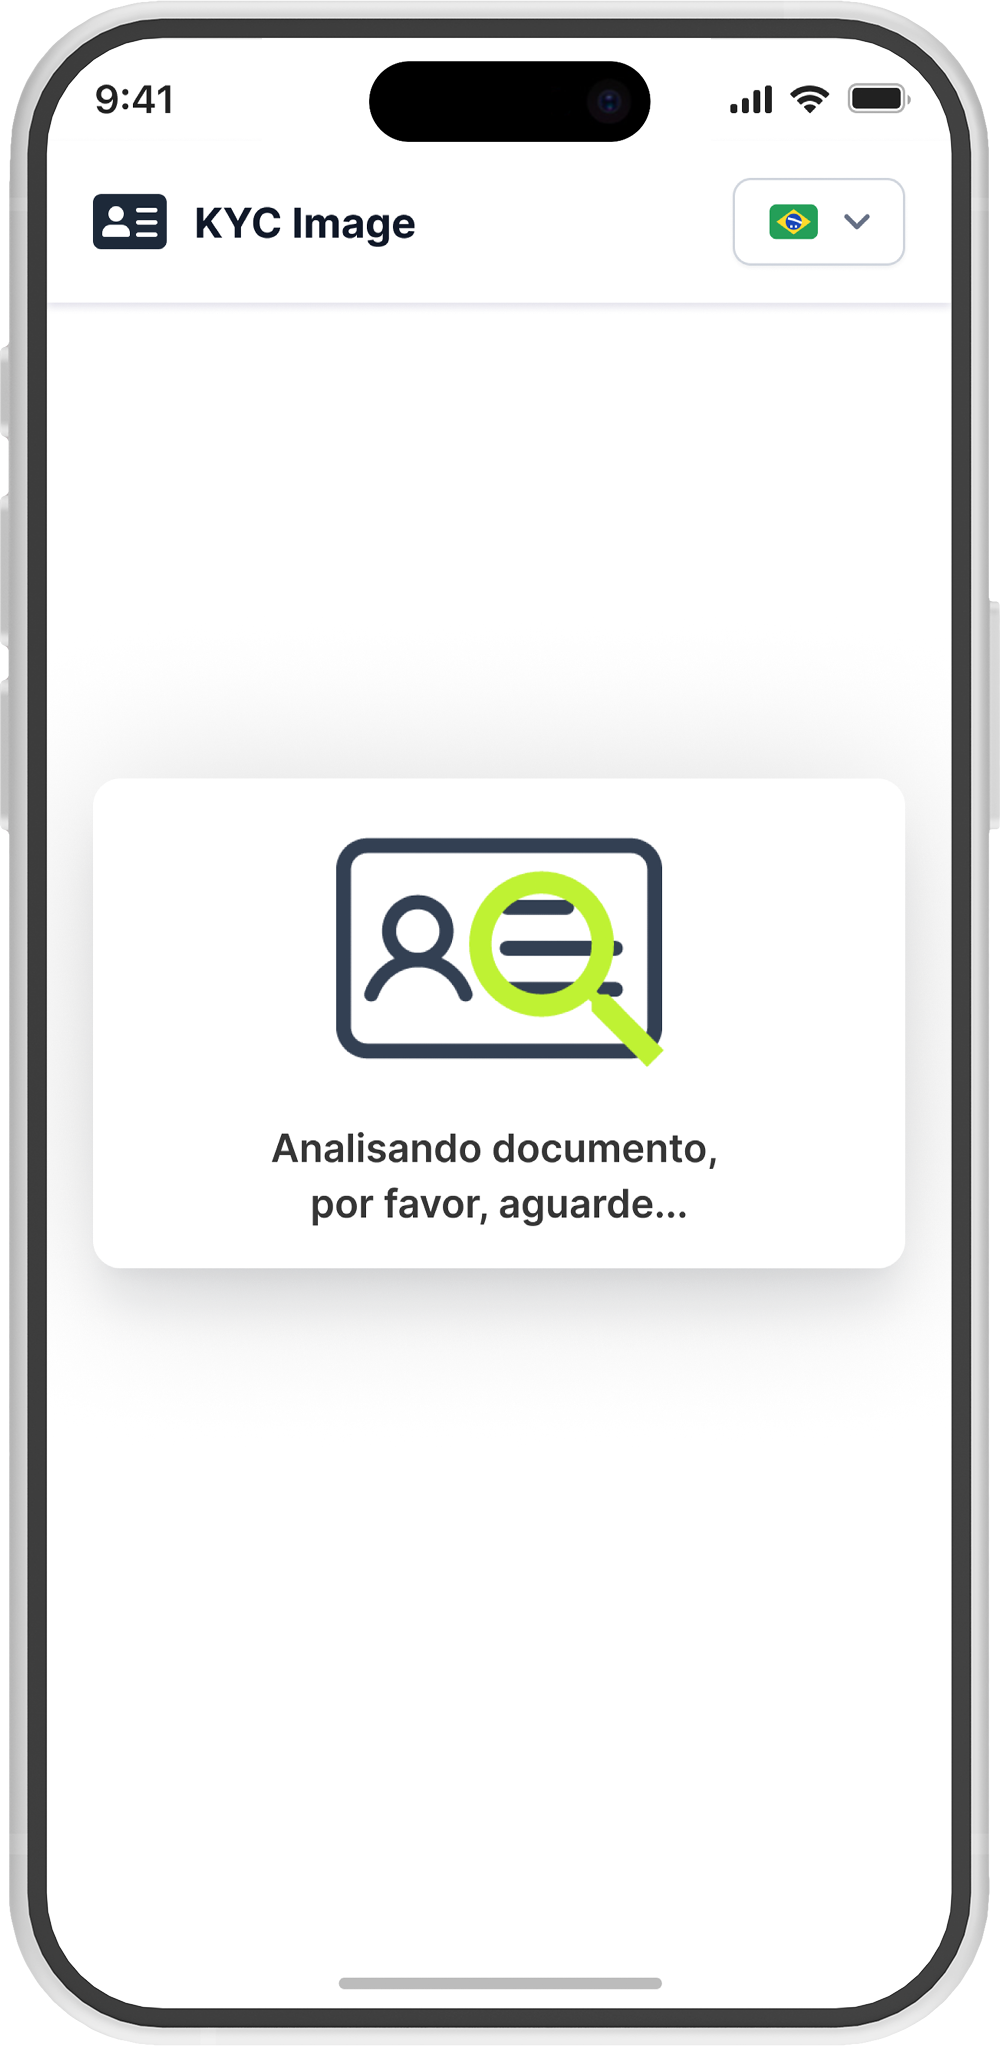
After the selfie is submitted, an analysis is performed comparing the document data with the submitted photo.
5. Verification Result
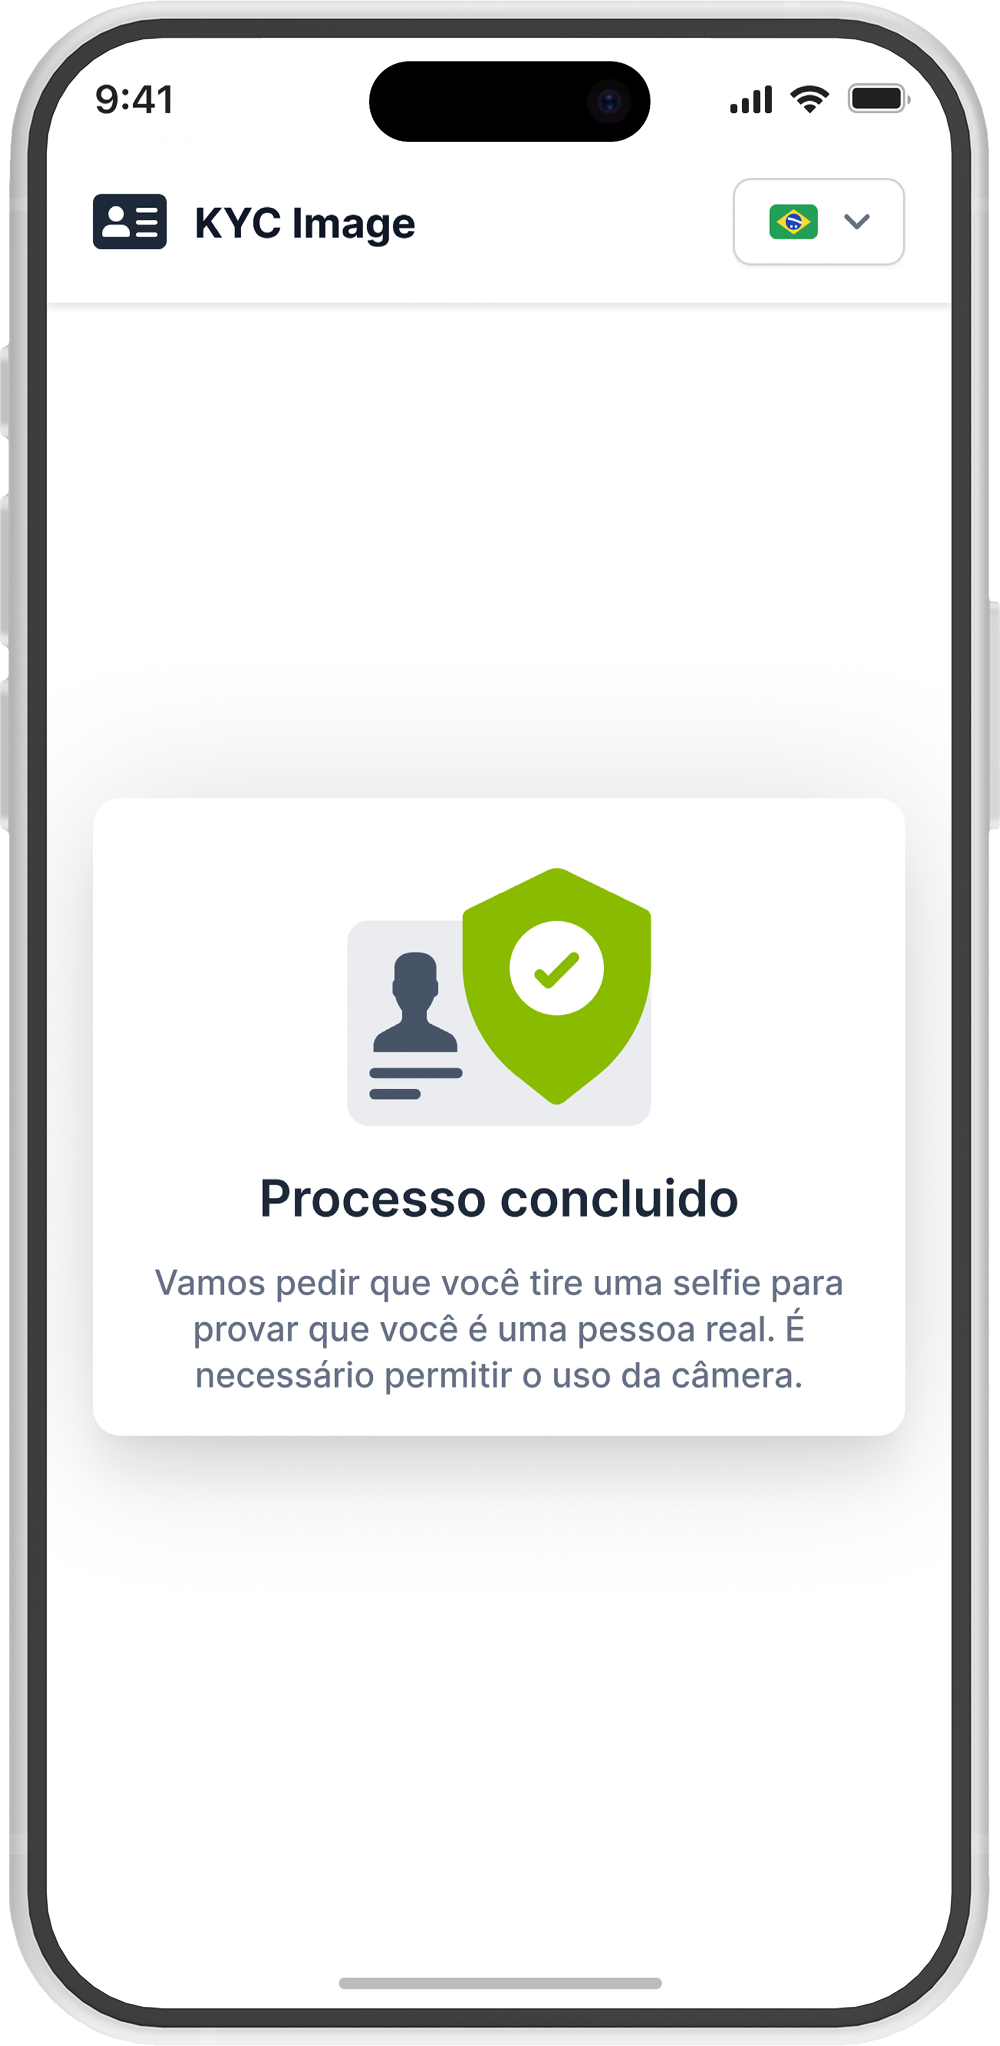
Approved
If everything is correct, the status changes to "Approved" and the process is completed successfully.
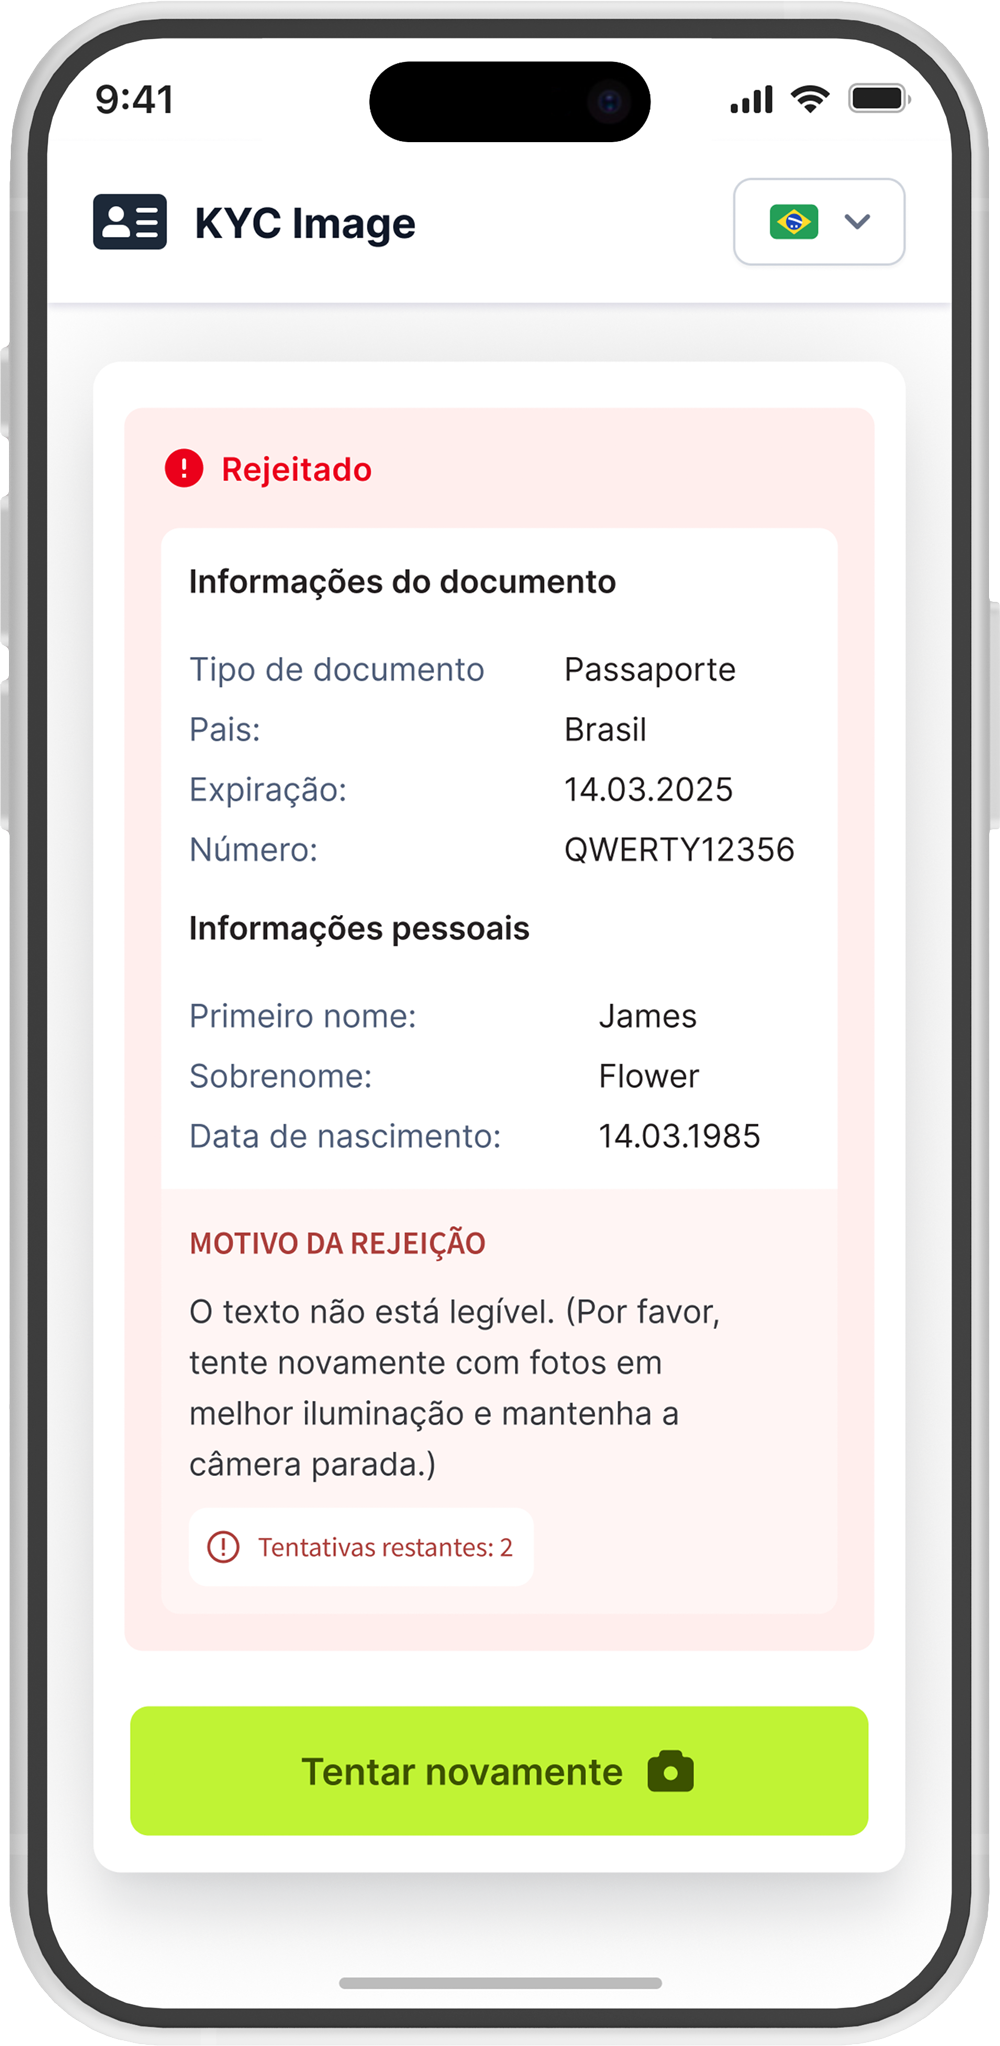
Rejected
If the verification is unsuccessful, the reason for rejection will be displayed. The possible reasons are:
| Reason | Description | Cause |
|---|---|---|
| Invalid Document | Illegible document or incorrect type | User error |
| Document Rejected | Document data does not match (name, CPF, or date of birth) | User error |
| Liveness Rejected | Facial similarity below threshold | User error |
| System Error (Document) | OCR system failure | Internal error |
| System Error (Liveness) | Facial verification system failure | Internal error |
To identify the specific cause of each failure via code, use the
status_detailfield in Webhooks.
See Also
- Face Index - Liveness detection only, without OCR
- SDK Methods - Complete methods reference
- Options - All configuration options